
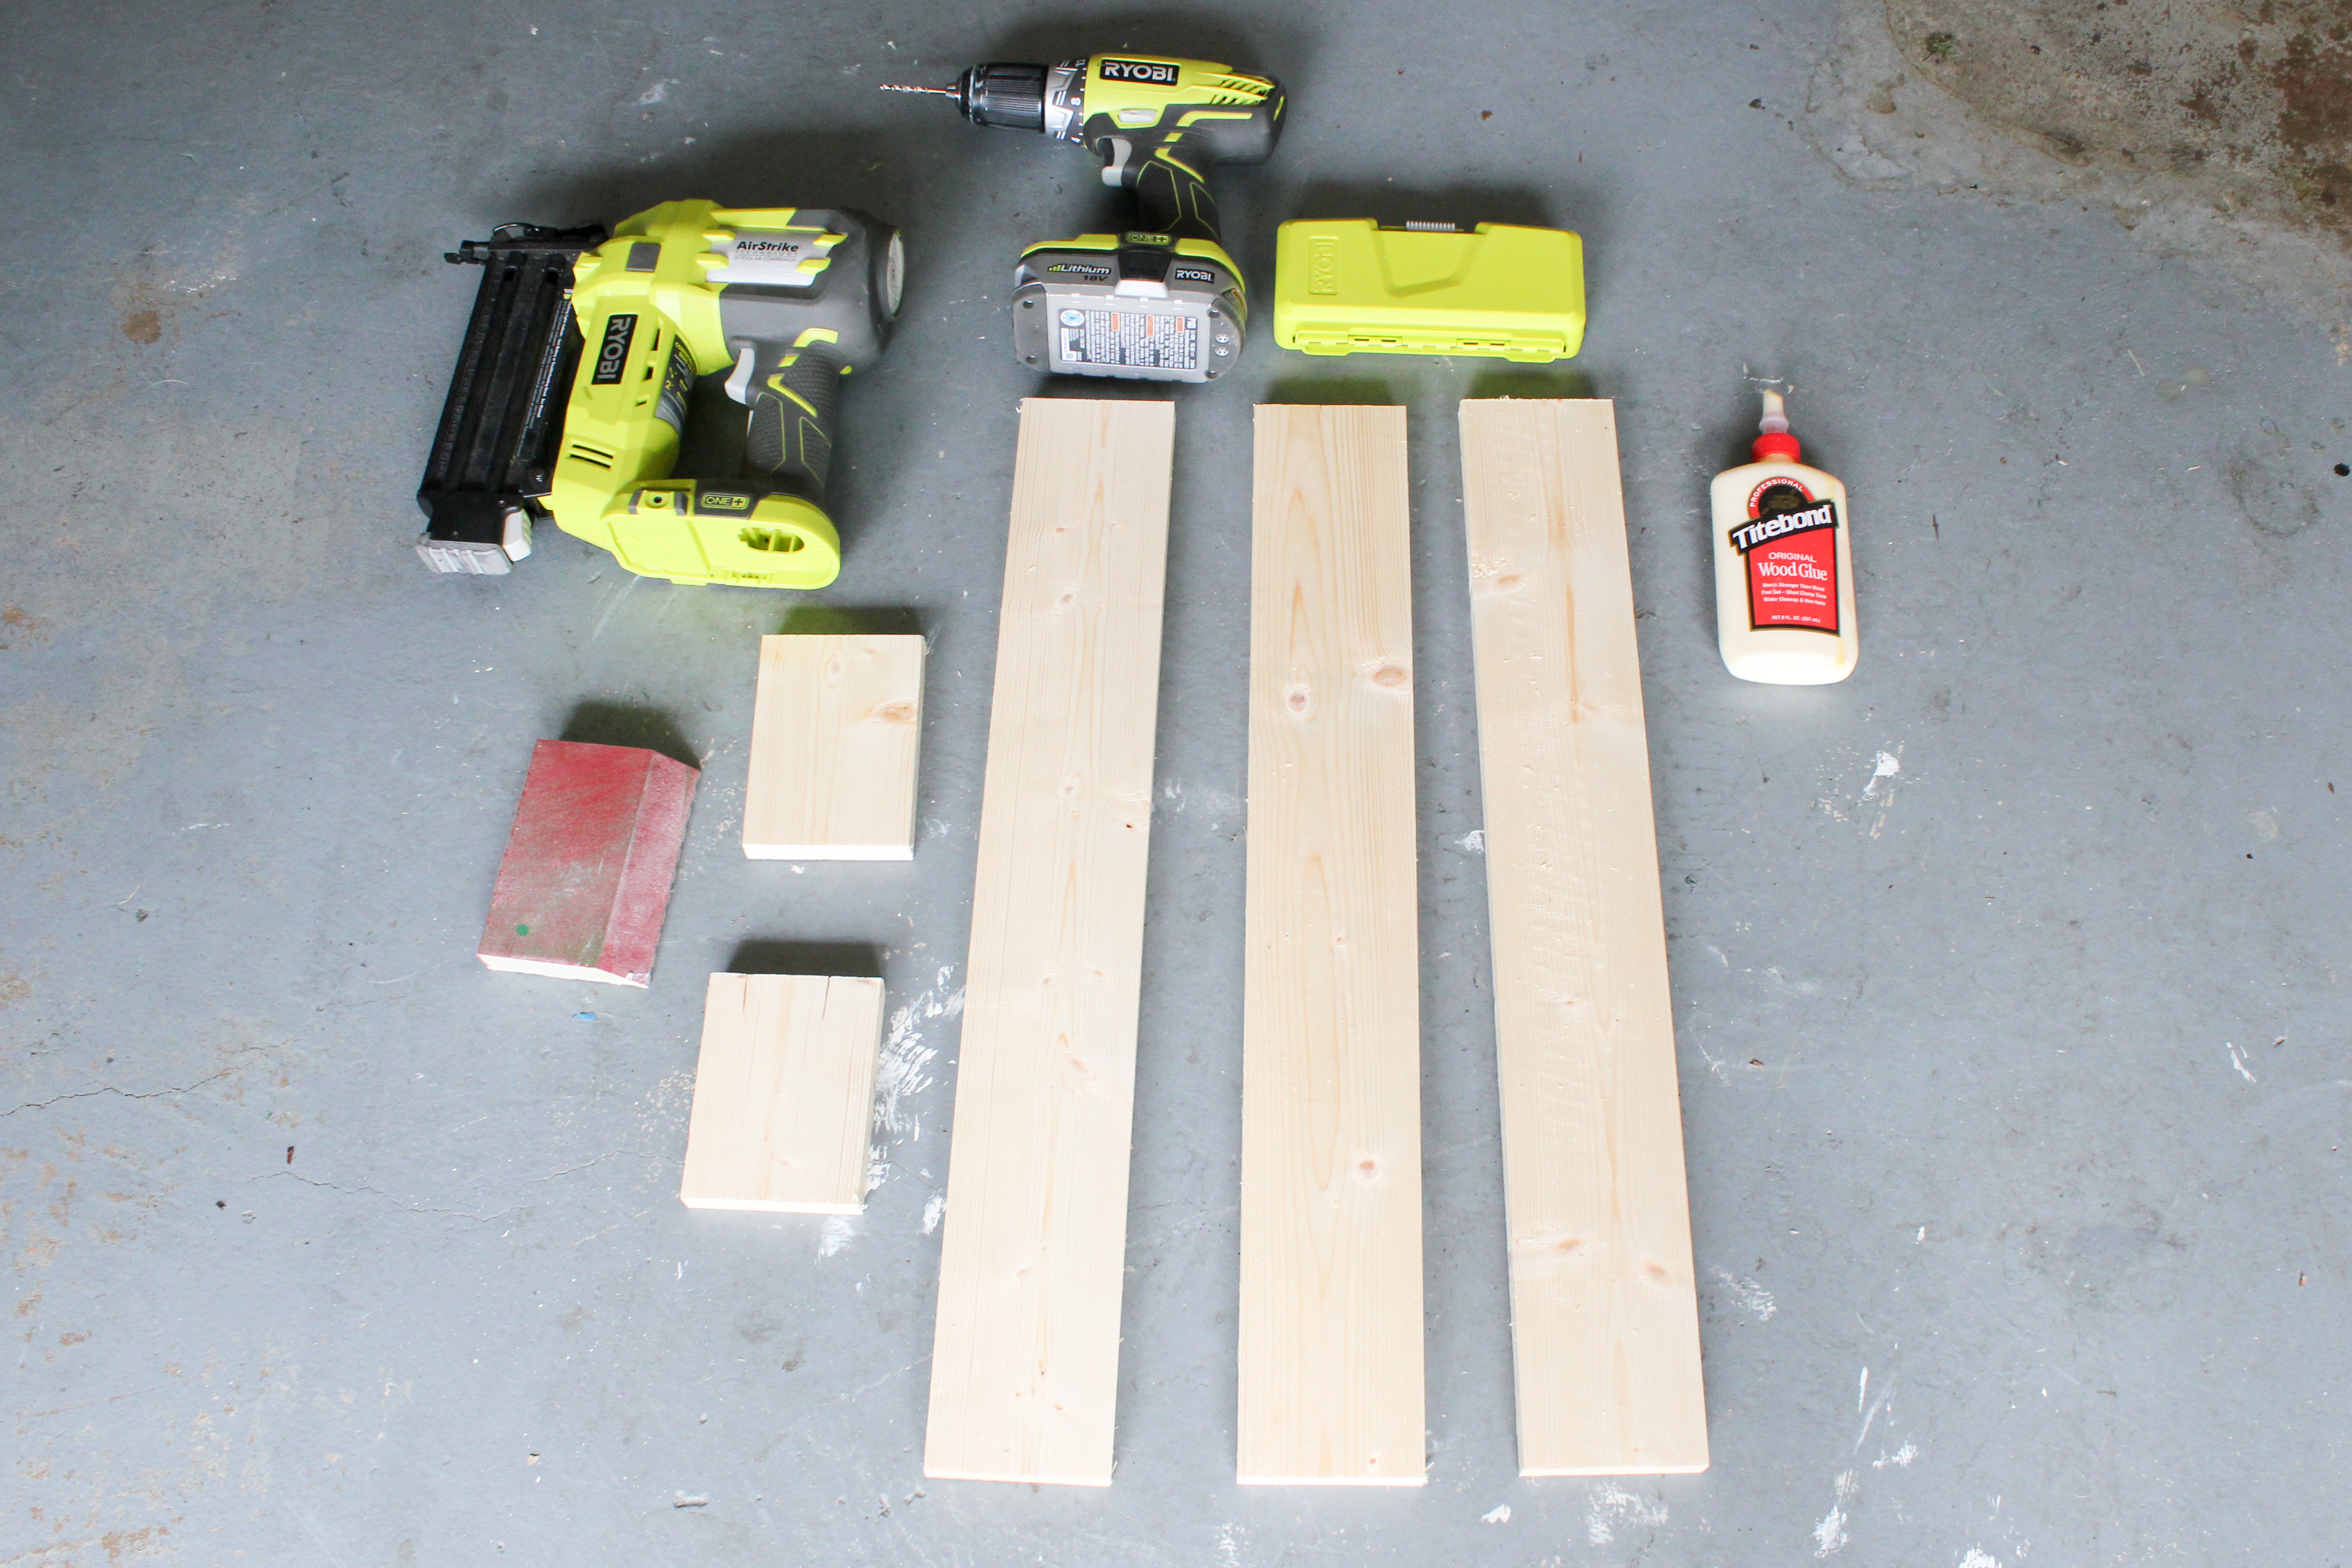
It’s summertime, and we’re all spending a lot of time outside, so it’s a great time to spruce up the patio or outdoor space. A new planter is a great way to do that, and today I’m going to show you how to save money by building your own indoor/outdoor planter. This particular planter would work great as a table centerpiece, or you could add hanging hardware and attach it to a balcony. What you’ll need to build this DIY planter box:
- 1×4 board cut into (3) pieces at 24″ long and (2) pieces at 5″ long
- Saw
- Tape Measure
- Sanding Block
- Wood Glue
- Brad Nailer
- 1 1/2″ Brad Nails
- Drill and 1/4″ Drill Bit
- Stain and Sealer
- Potting Soil
- Succulents or plants of your choice
First, measure and cut your wood to the desired length. My planter is 2 feet long, but you can modify the dimensions to suit your needs. I used a miter saw to cut my boards, but any saw will do. Use a sanding block to smooth rough edges.

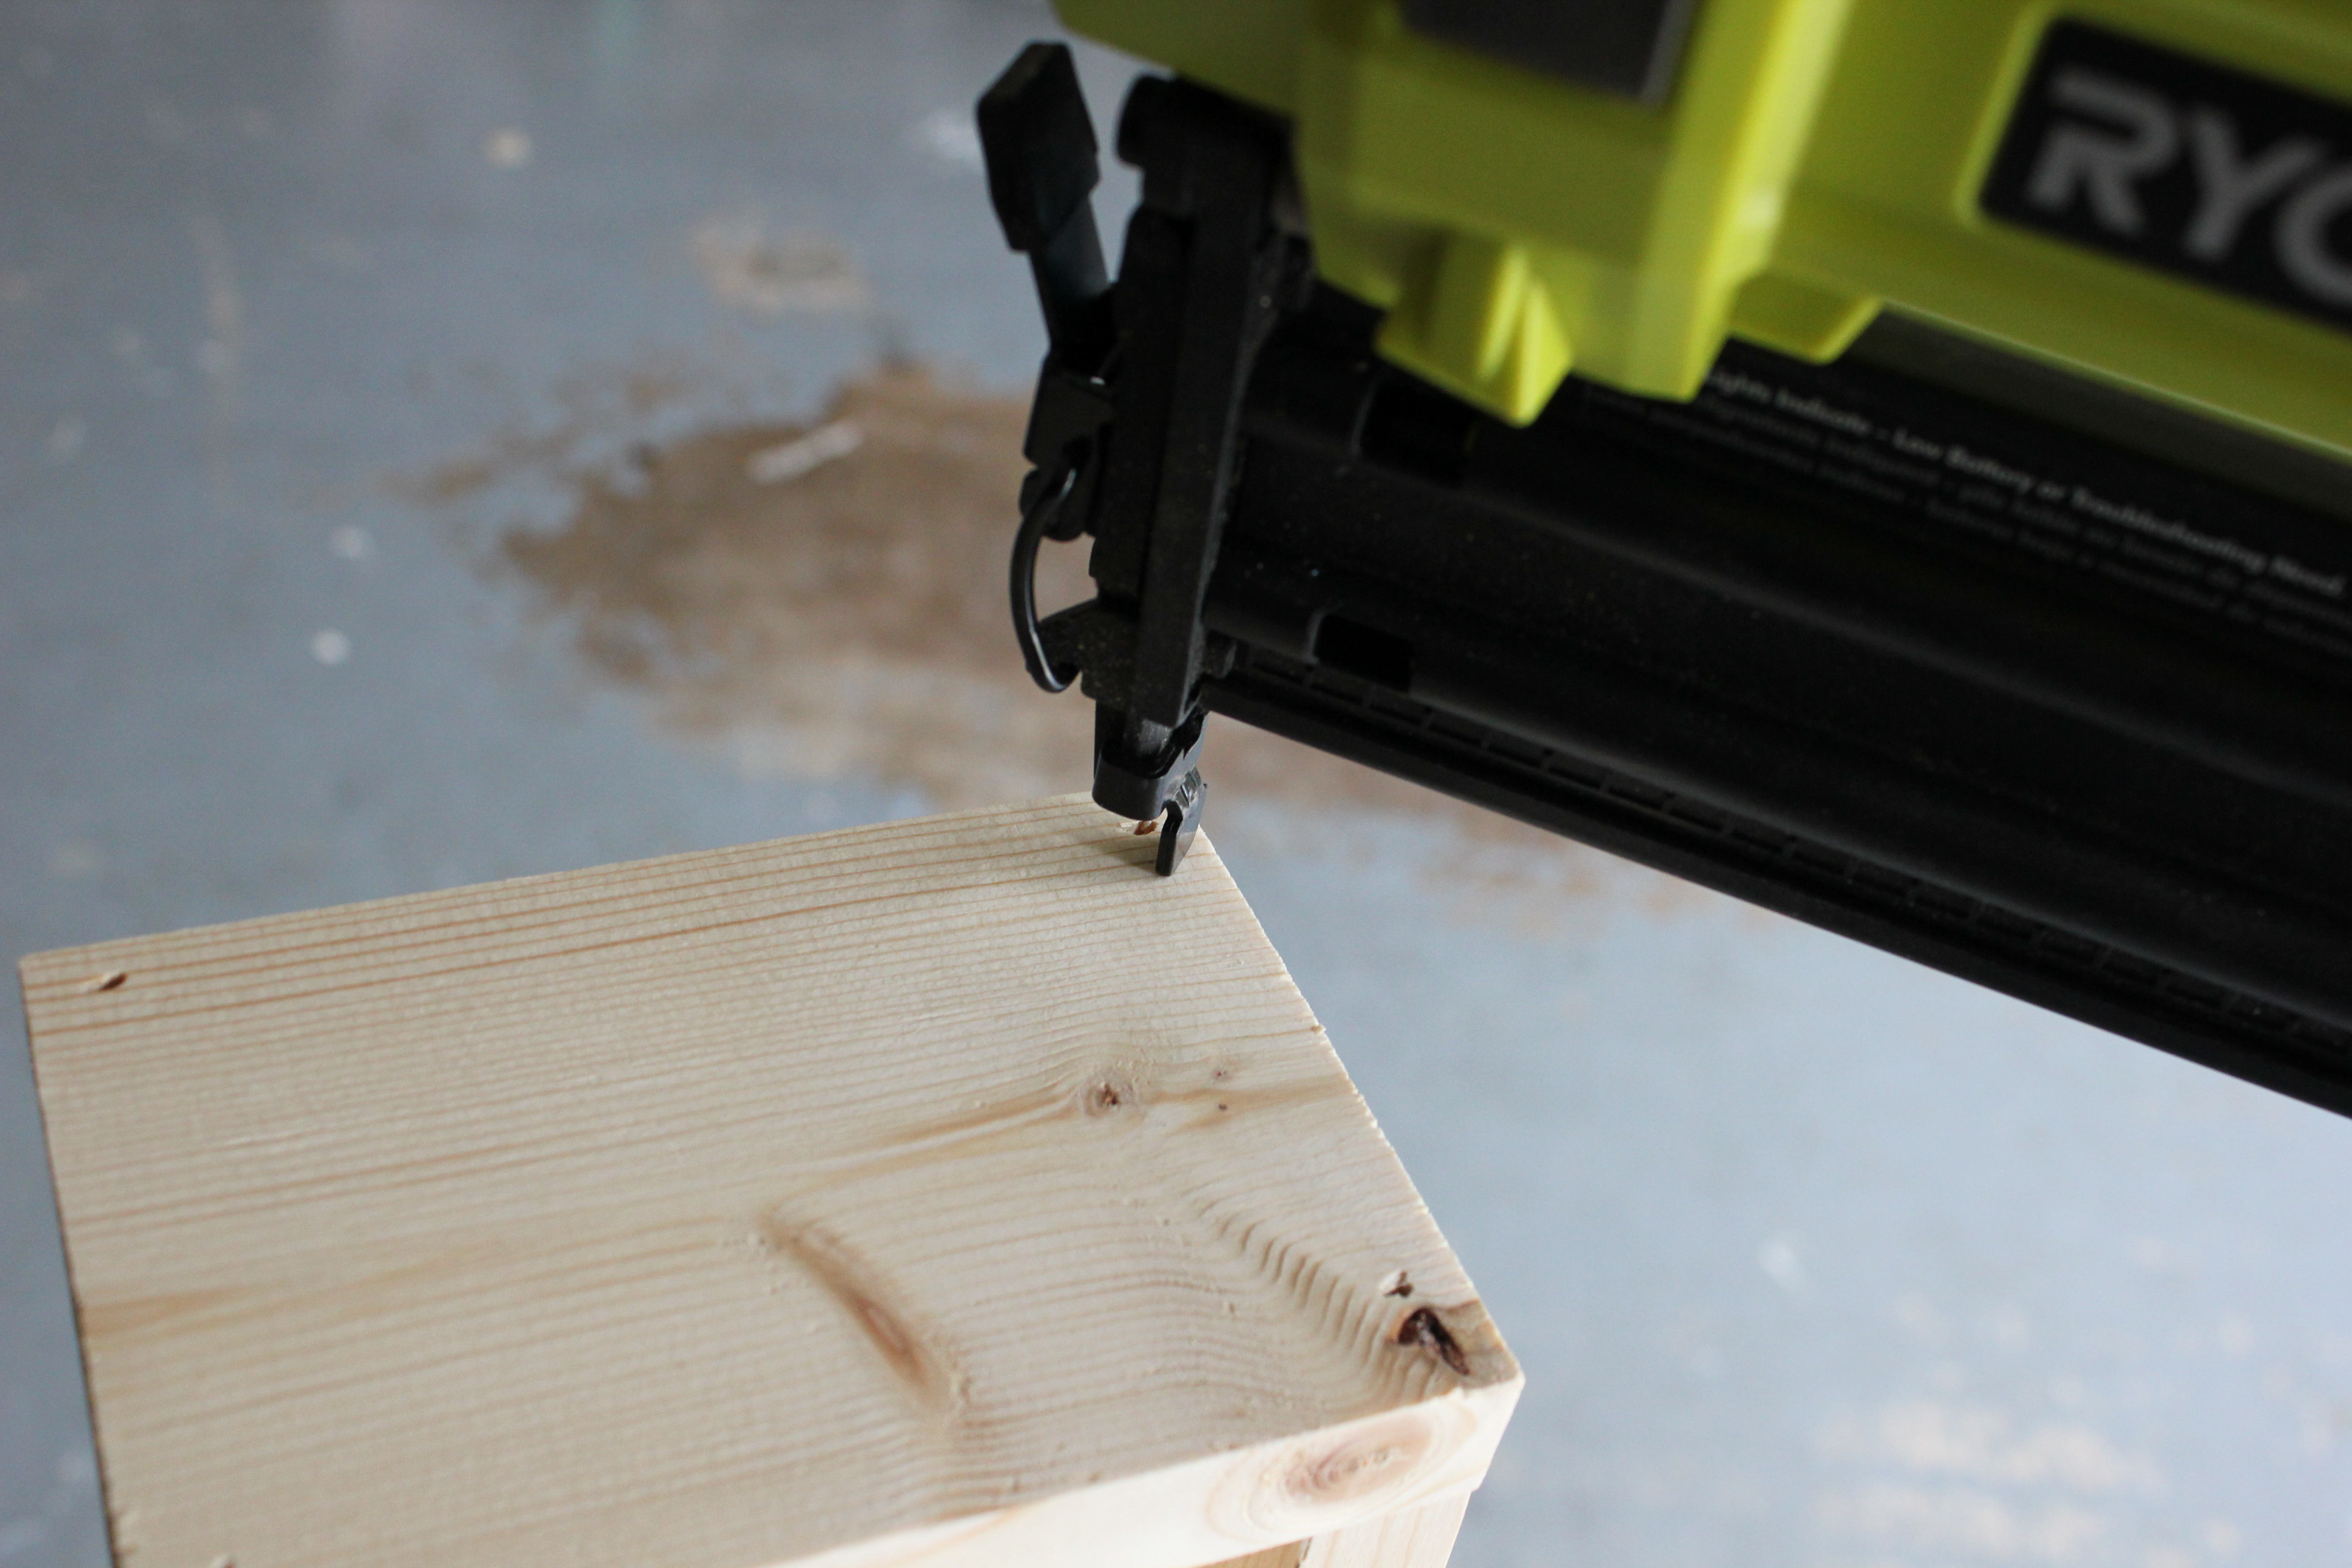
Apply a thin bead of wood glue along the edges, and attach the boards with brad nails, forming a box. One of the 24″ long boards will be the bottom, and your other two 24″ boards will form the sides, while the 5″ long pieces will form the ends.
Drill holes in the bottom of your planter to allow for drainage.

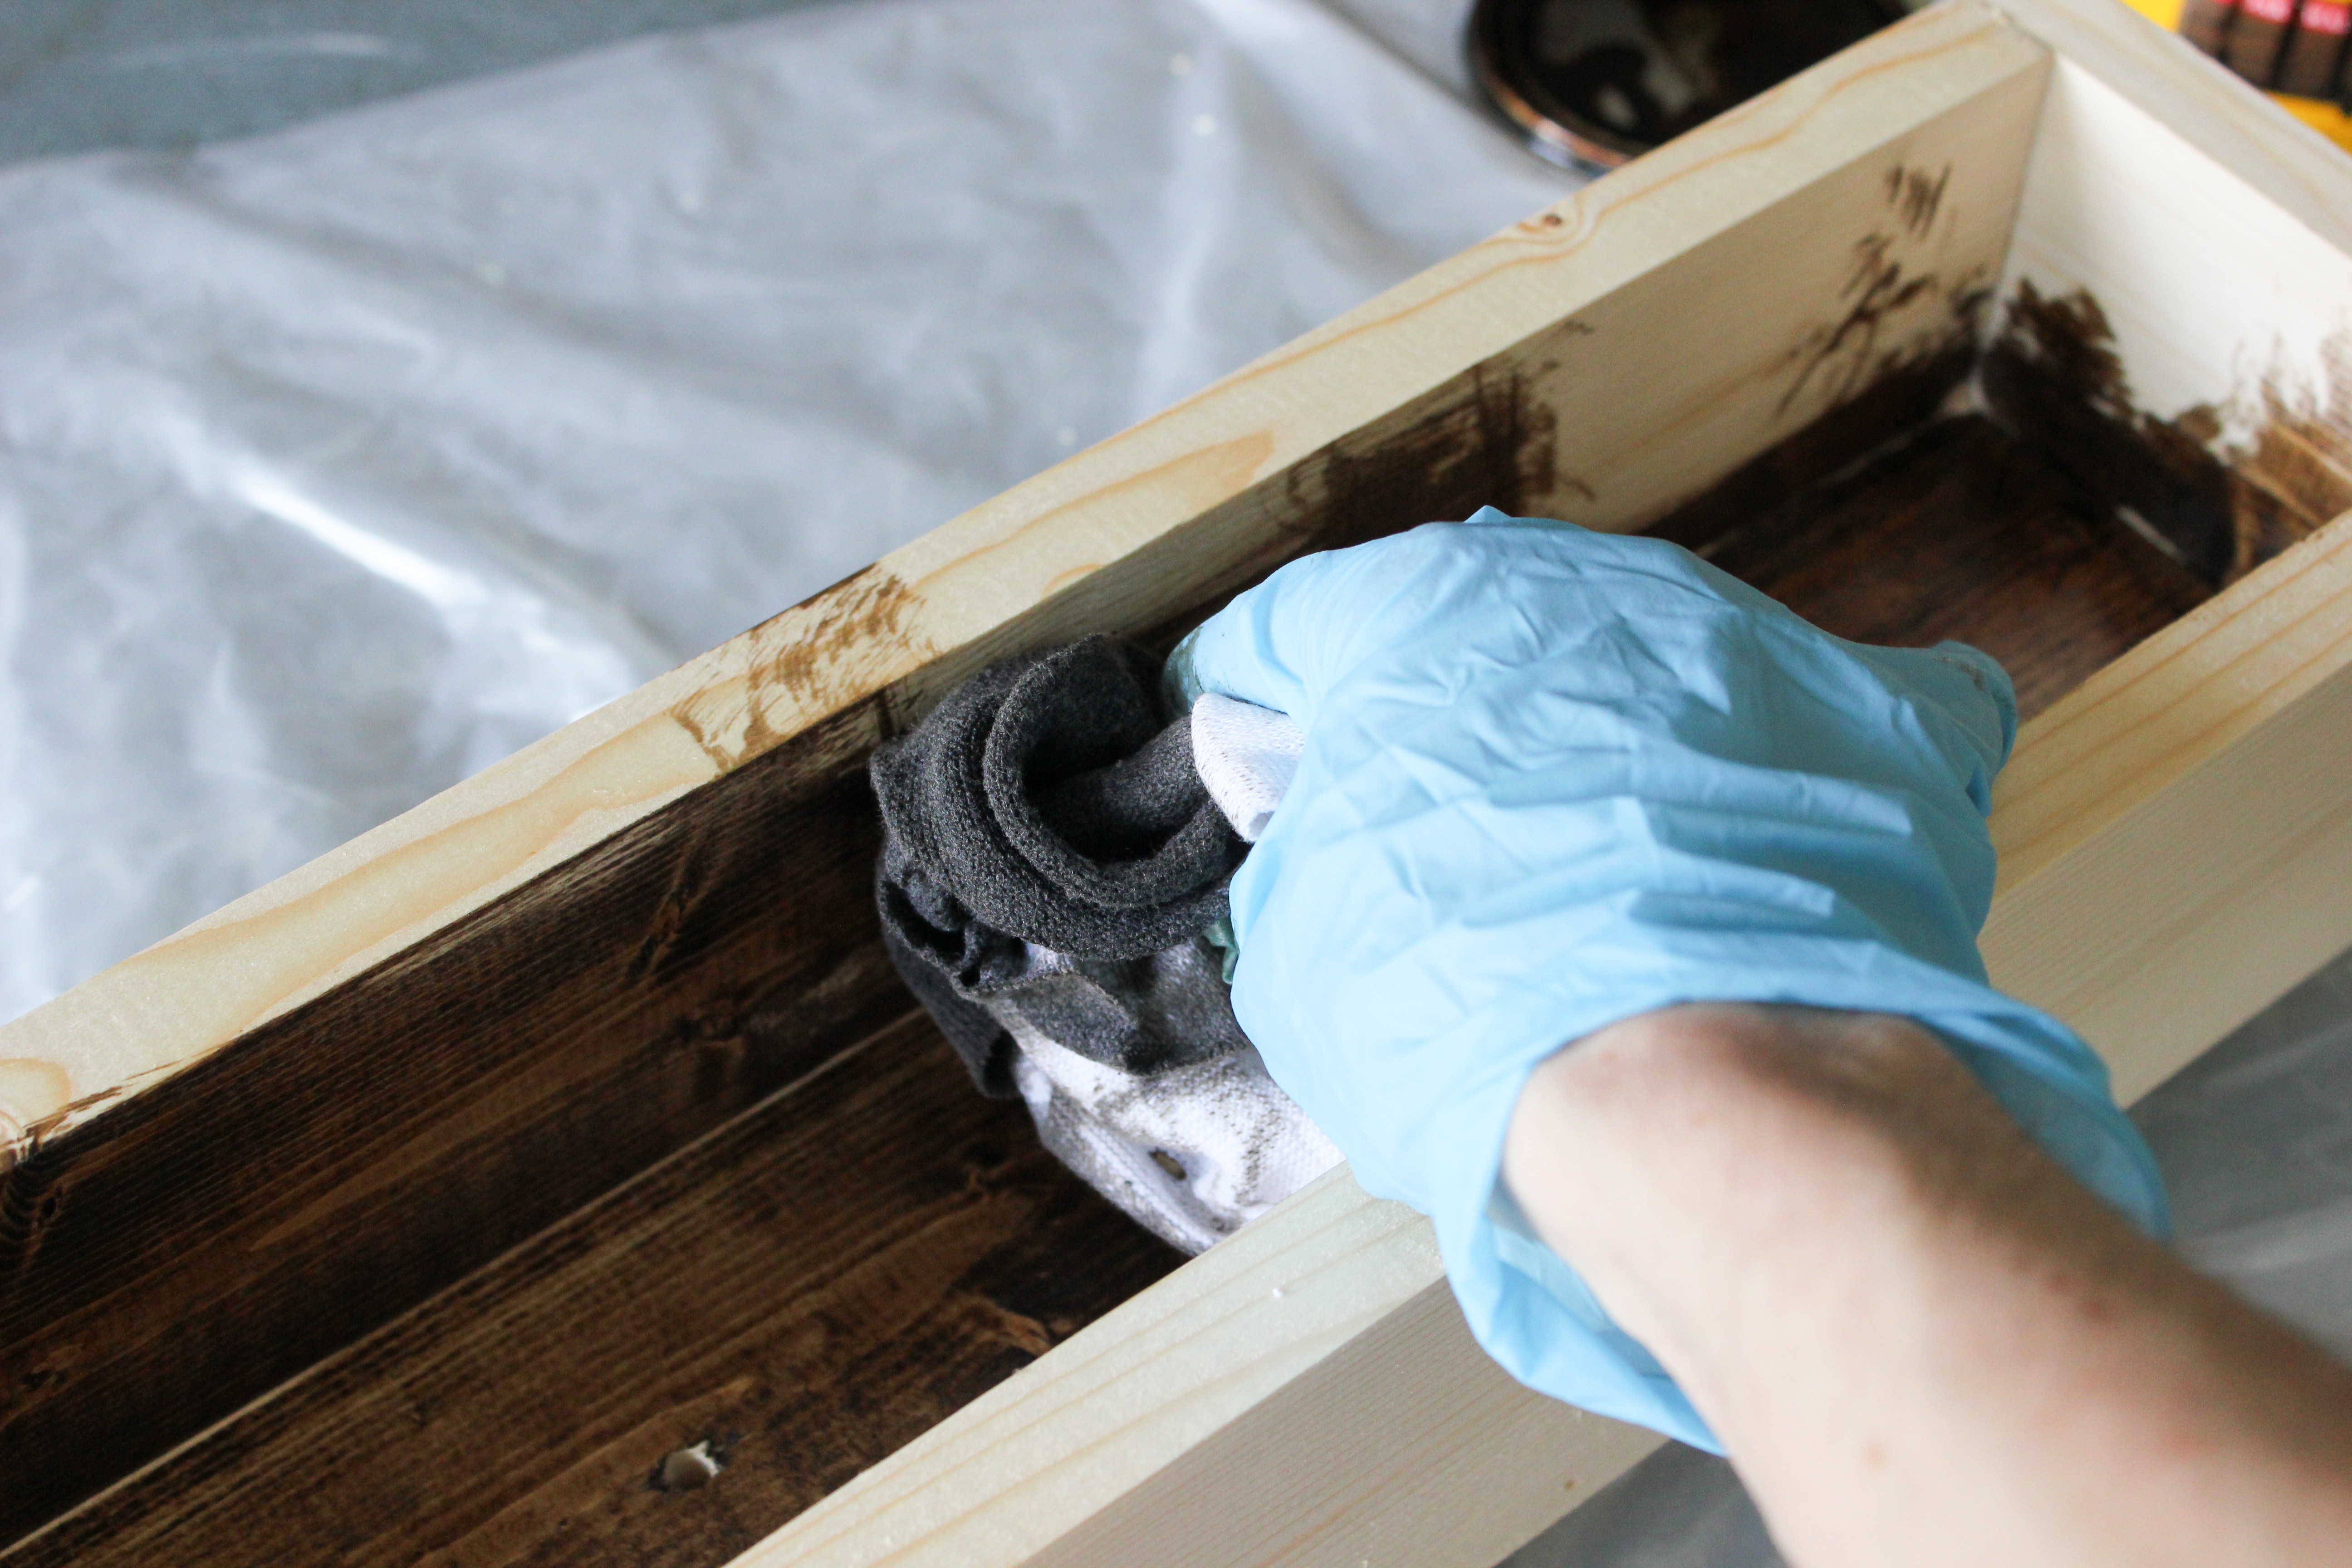
Apply stain or paint of your choice. I used a dark walnut stain and then applied waterproof sealer.
Fill your planter with potting soil and plant your succulents (or whatever small plants you choose).

You can always add pea gravel for additional drainage or for a decorative touch. Now it’s time to put it outside and enjoy it!


